Paleo Chicken Meatballs

If you want to wow your friends and family with a dish packed with intense flavor and free of allergens, then you have to try this!  It falls into our 30 minutes or less group, making it truly one of our favorite go-tos for a healthy, quick and super satisfying meal. We have replaced all flour, gluten and dairy with allergen-free ingredients, and use zucchini noodles in place of pasta, so this healthy dish is gluten-free, dairy-free, soy-free and Paleo. Score!

If you haven’t cooked with zucchini noodles yet, the main thing to watch for is not over cooking the “noodles”, so we toss the ribbons in at the last 5 minutes with this recipe so they have just enough time to soften up, but won’t lose their coarse texture that’s reminiscent of pasta. The easiest way to prep the zucchini noodles is with a mandolin or spiralizer (both will link to the ones we bought on Amazon). The mandolin is simple to use, once you get used to it, but just be careful to avoid the sharp blade, and definitely don’t let your kiddos use this one! If you prefer a spiralizer, this is our favorite! Sometimes I can be a big baby about the mandolin and want to use something easy, without sharp edge to worry about cutting myself on.

I can’t wait to hear what you think about this recipe, so please share your comments below!

Gluten-free, Paleo Marsala Chicken Meatballs

Cook Time: 30 minutes

Yield: 4-5 servings

Ingredients

  • 1/4 cup almond flour
  • 2 tablespoons coconut milk, room temperature
  • 1/3 cup plus 1 tablespoon Marsala wine
  • 1 lb ground white meat chicken
  • 1/4 cup grated manchego, plus extra for serving
  • 1 large egg, beaten
  • 2 tablespoons chopped fresh parsley
  • 1 teaspoon kosher salt
  • 1/8 teaspoon freshly ground black pepper
  • 2 tablespoon extra-virgin olive oil
  • 8 ounces cremini mushrooms, sliced
  • 1 large onion, minced
  • 1 1/2 teaspoons almond flour
  • 1 1/4 cups low-sodium chicken broth
  • 4 large zucchinis, cut into noodles

Instructions

  1. Preheat the broiler to high.
  2. In a large bowl, mix together 1/4 cup almond flour, coconut milk and 1 tablespoon marsala.
  3. Let soak for 5 minutes.
  4. Add the chicken, manchego, egg, parsley, 1/2 teaspoon of the salt and the pepper.
  5. With your hands, gently mix together the ingredients until just combined.
  6. Form into tablespoon-size balls and place on an oiled baking sheet.
  7. Broil for 5 minutes, or until the meatballs are beginning to brown and are just barely cooked through.
  8. Remove from the oven and set aside.
  9. In a large skillet, heat 1 tablespoon olive oil over medium-high heat.
  10. Add the mushrooms and cook, stirring with a wooden spoon, until the mushrooms are brown on all sides, about 5 minutes.
  11. Add the onions and the remaining 1/2 teaspoon salt and cook for another 2 minutes.
  12. Lower heat to medium and stir in the remaining almond flour and 1 tablespoon olive oil.
  13. Add 1/3 cup marsala wine and stir until smooth.
  14. Whisk in the chicken broth and simmer for 5 minutes.
  15. Add spiralized zucchini noodles to sauce and mix to coat.
  16. Add the meatballs and simmer for an additional 5 minutes to let the flavors blend.
  17. Serve hot, garnished with grated manchego.
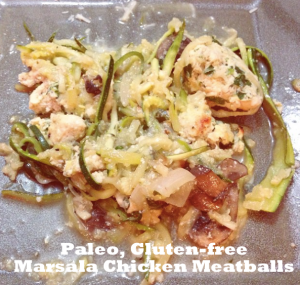
http://inspiredeats.net/30-minute-meals-gluten-free-paleo-marsala-chicken-meatballs/

Gluten free Curried Chicken Salad

Recently I decided to launch a 30 minutes or less meal plan section, since most of what I’m asked about is how we prepare quick, easy, gluten-free and yummy meals.

To be honest, I’m not a fabulous chef. I’m not one of those amazing people who can whip up an alternative version of their favorite gluten-full foods. My brain doesn’t work like a scientist, knowing what percentage of an almond flour/tapioca starch/arrowroot/rice flour mix to use to replace with wheat flour.  And I don’t sit around my kitchen fermenting foods, or experimenting with cricket flour.

What I do know is how to avoid allergens with real food, and how to prepare foods ahead of time so I can use them to whip up delicious and quick meals throughout the week. I have also tried just about every product on the market, and I know which to use in order to save time, money and love what you eat, and I know which ones to avoid.

So, the posts in the 30 minute meals section will focus on meals that you can prep within 30 minutes (some in less time) and tips to prepare for the week so you can save time and still enjoy delicious, healthy meals.

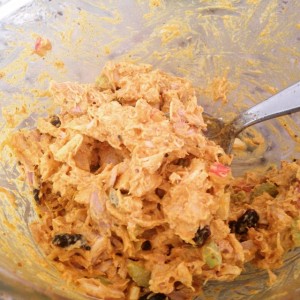
One of my favorite (super easy) solutions when you’re in a food rut, is to whip up some curried chicken salad. It’s a nice change from the typical chicken salad, and will store in the fridge for several days.  I love to use a rotisserie chicken from the local market, but be sure to buy natural, organic chickens with minimal seasoning so you can void any hidden gluten.

Gluten free Curried Chicken Salad Ingredients:

2 cups chopped organic/natural rotisserie chicken

1 TB curry powder

1 cup organic mayo

1/4 cup diced apples

2 stalks chopped celery

Handful of raisins or dried cranberries

Salt + pepper to taste

Instructions: 

Mix a cup of mayo with a tablespoon of curry powder.

Add chopped rotisserie chicken, diced apples and celery and toss in some raisins for a sweet touch.

Season with s+p. Yum!

Notes: using a pre-cooked chicken, this meal should take less than 10 minutes. Serve on toasted gluten-free bread, in a lettuce wrap, or just enjoy plain, straight from the bowl. Store any leftovers in the fridge for several days.

Make sure all ingredients are ‪#‎organic‬ and ‪#‎gluten free‬ for best taste and even better health!

xo

Jen

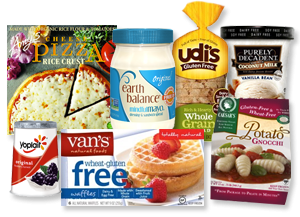
gluten-free products

Living a gluten-free life can be frustrating. Five years ago we had very little choices at the grocery store, and today it feels like we’re overwhelmed with options. And none of these options are cheap, so how do you avoid blowing your weekly budget on overly sugary, or bad tasting versions of the gluten-full counterparts that you once loved?

Read labels before you buy

Gluten-intolerance or not, it’s important to understand how to read the product labels and ingredient lists on the foods you buy. If you don’t see “gluten-free” clearly written on the item you’re looking to buy, either call the manufacturer’s customer service line to get clarification or avoid the item all together. Knowing how to read the list of ingredients is also very important when you have any type of intolerance. If there’s a specific type of ingredient you’re unsure of, do the research so you know if it’s something that could harm you or not.

Check your pantry

Gluten can hide in some of your favorite food-staples, which is why it’s important to do a sweep of all of the items in your fridge and pantry to make sure you eliminate those you can’t have. Be prepared to have to let go of soy sauce, malt, and anything containing maltodextrin, a food additive which often contains gluten.

Avoid processed foods

Unless otherwise labeled, most processed food products will contain additives with gluten. Processed foods can be harmful to your body given the unnatural ingredients they contain, so if you’re looking out for your health, aside from being gluten-free, eliminating processed foods from your diet can make a huge difference.

Search for gluten-free restaurants

Believe it or not, restaurants have transitioned over well to appease those with a gluten-intolerance, adding multiple menu options as simple as gluten free pasta to as complicated as adding an entire menu section specifically for those eating gluten-free. Surprisingly, there are several mainstream chain restaurants, such as PF Chang’s and Outback Steakhouse that now offer gluten free menu items to help accommodate patrons with food allergies. You can check out our list of gluten-free chains here.

Order online

If your local grocery store doesn’t have the gluten-free items you’re looking for or need, don’t sweat it. Many stores actually stock their online based stores with anything from gluten-free sauces, pasta, cookies, pizzas and snacks to provide those with a gluten-intolerance an easy shopping experience. Another option we love is Vitacost. We buy organic, gluten-free and minimally processed foods here, and with free shipping over $49 it’s a great away to stock up on the essentials. Plus they offer $10 off an order over $30 if you use the link here.

Watch your calories

A big misconception a lot of people have with a gluten-free lifestyle is that it helps you lose weight because there are fewer calories in gluten-free foods. in fact, many of these gluten-free options are higher in sugar and calories, so be careful to read the nutrition labels before you load up on crackers, cookies and other processed gltuen-free foods. Having options are great, but just keep in mind that other than omitting gluten, these guys are still packed with calories, sugar and fat like their gluten-ful counterparts. To truly make this a healthy lifestyle, shun as many pf the processed foods as you can, and stick to a diet of more naturally occurring foods, like fresh fruits and veggies, meats, fish, nuts and seeds.

If you simply can’t do without your favorite products and want to know what foods to eat, check out our product reviews here.

gluten-free whoopie pie

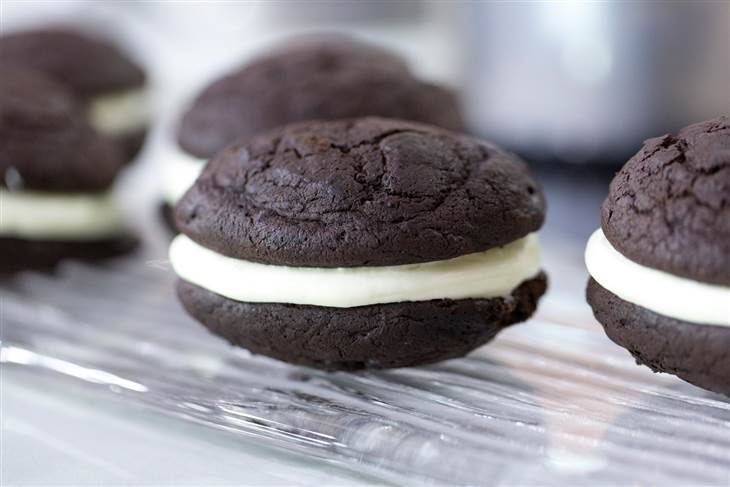
The other morning I caught a glimpse of a whoopie pie on a cooking segment on The Today Show that made this gluten-free girl jealous. There aren’t many deserts that I miss since the cravings went away years ago, but when I saw this delicious double layer chocolate cake with a cream cheese frosting smooshed in the middle, I had to admit. I wanted some.

gluten-free whoopie pie

Then they said that you can make these vegan or gluten-free too. Seriously? Could it be this decadence from my past could be enjoyed today?  Given the creativity of chefs today who accommodate food allergies I was pretty sure it could be done. The only concern I had was how dense they may be, since gluten-free flours tend to end up pretty dense. At least, they do when we bake them 🙂

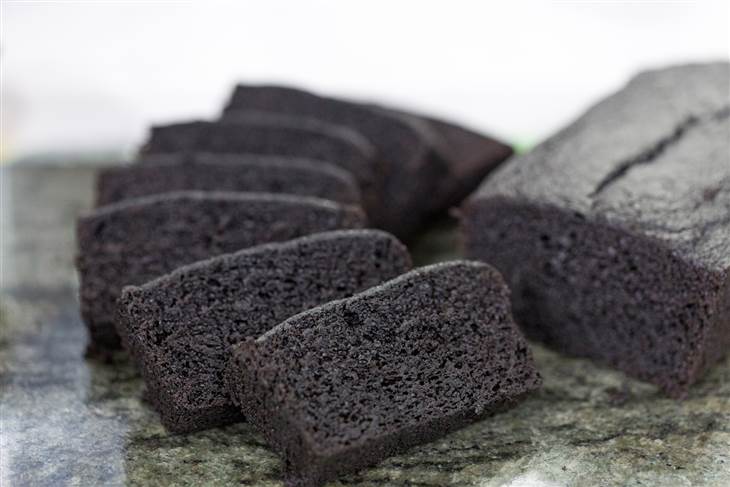
Gesine Bullock-Prado is pastry chef and author of “Let Them Eat Cake,” says yes. In the quick today Show segment, she made it through a couple of her favorite chocolate dessert recipes — including cookies, whoopie pies and chocolate zucchini bread — with instructions on how to modify each recipe to make it vegan, gluten-free or just all around healthier.

She offers recipe variations for gluten-free or vegan versions for the Whoopies, Chocolate Zucchini Bread and her “Big Winooski”, and dense chocolate cookie  that I’m pretty sure our son will love.

gluten-free chocolate zucchini breadHead over to the Today Show to check out her recipes and the vegan and gluten-free variations to try.

I think I’ll be starting with the Whoopies!

Enjoy,

Jen


gluten free vans cranberry almond

I’ve posted reviews on Van’s gluten-free products previously, as our son absolutely loves their gluten-free waffles, snack bars and cereals. So when they sent us some new product offerings we were happy to give them a shot. They’ve branched into granola and pre-packaged pastas, which was definitely a bit surprising at first, since most of their other products are snacks and/or sweet breakfast foods. We know they have the sweet area down, but were curious how they handled savory.

Since we’re dairy-free we can only review one of the pastas, but will update this post with friend’s opinions once they share their thoughts on both the mac-n-cheese and creamy herb and garlic. If you want to find them in your local store, check out their store locator on their site. If you’re in Austin, you can find them at most HEBs.

Gluten Free Granolas:

gluten free vans cranberry almond file_2107

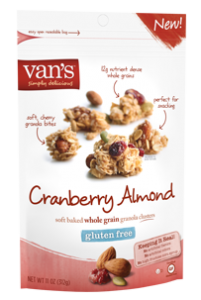
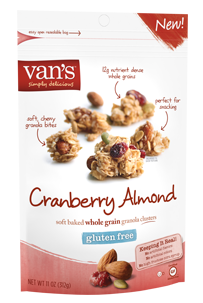
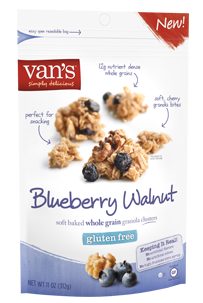
Van’s gluten-free granola comes in two yummy varieties, Cranberry Almond and Blueberry Walnut.

Both are perfectly balanced sweet and soft bites with 12 grams of nutrient-dense, gluten-free whole grains. We enjoyed them in yogurt, as a cereal with some vanilla almond milk and as a simple grab n go snack option. Our son loved both favors and we ended up mixing both into a snack container for him to take to school. Definitely loving this new granola option, and we found it at our local HEB.

Gluten-free Pastas:

Another new offering from Van’s is their packaged pasta options, which they market as a simple, convenient way to  bring some tasty gluten-free pasta to your dinner routine. We tend to make our own pasta here, and prefer fresh home-made pasta sauces, but if you’re in a pinch these are pretty good options to have on hand.

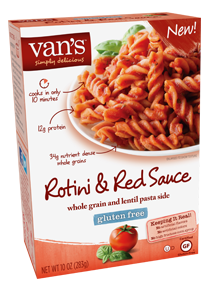
We love that, as usual with Van’s products, they kept the ingredients list clean and simple, making us feel good about making these for our son.  Since we’re dairy-free we could only try the Rotini, but I can tell you it was much better than expected from a packaged meal, and they’ve done a great job of keeping the ingredients clean without compromising on flavor. If you’re looking for something easy to keep on hand for those short-on-time nights, this is a great option!

Gluten Free Rotini & Red Sauce Pasta

Ingredients: (that we are proud of!)

Gluten Free Penne Pasta (Brown Rice Flour, Red Lentil Flour, Beet Powder, Tomato Powder), Marinara Sauce (Tomatoes [Tomatoes, Tomato Puree, Citric Acid], Water, Tomato Paste, Olive Oil, Onions, Sugar, Basil, Garlic, Salt, Citric Acid, Black Pepper).

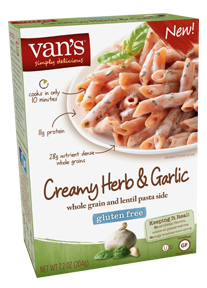
Gluten Free Creamy Herb & Garlic Pasta

Ingredients: (that we are proud of!)

Gluten Free Penne Pasta (Brown Rice Flour, Red Lentil Flour, Beet Powder, Tomato Powder), Garlic & Herb Seasoning (Reduced Lactose Whey, Rice Flour, Milk Powder, Parmesan and Romano Cheese [Milk, Salt, Cheese Cultures, Enzymes], Natural Flavors, Salt, Sugar, Spice, Garlic Powder).

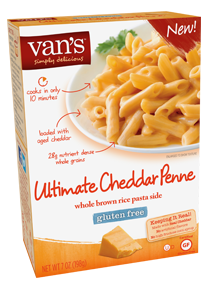
Gluten Free Ultimate Cheddar Penne

Ingredients: (that we are proud of!)

Gluten Free Penne Pasta (Brown Rice Flour, White Rice Flour), Aged Cheddar Cheese Seasoning (Cheddar Cheese [Milk, Salt, Cheese Cultures, Enzymes], Nonfat Milk, Salt, Whey, Sugar, Buttermilk, Rice Flour, Natural Flavors, Annatto Extract [For Color]).

Vans gluten free pasta file_2112 file_2145

Disclaimer: Van’s sent us their new products to try with a request for a review on the blog. As always, I only share our honest opinions/reviews.

paleo curried shrimp

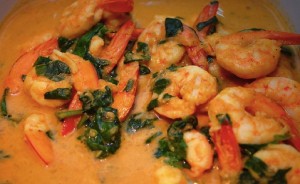
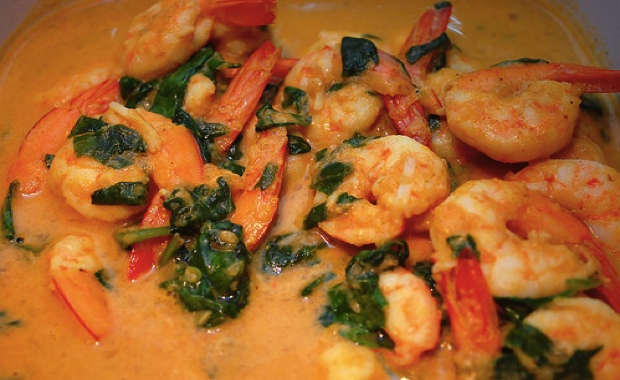
Curried shrimp and spinach

I ran across this recipe last year and it was a hit on the first try. I added some mushrooms in with the onions while sautéing (I’m a BIG fan of sautéed mushrooms) so when it came to the point of blending the onions and mushrooms mixture I left some in the pan to eat whole with the shrimp, and blended the other half as instructed. Either way, it was a delicious meal, and super easy and quick to make thanks to some frozen, de-veined shrimp.

Easy and delicious… two of my favorite things 🙂

paleo curried shrimp

Ingredients (Serves 4)

  • 2 lbs shrimps, peeled and deveined
  • 2 tbsp ghee or coconut oil
  • 1 onion, chopped
  • 2 tsp curry powder
  • 2 tsp tomato paste
  • 1/2 cup gluten-free chicken stock
  • 1 cup full-fat coconut milk
  • 2 tightly packed cups shredded spinach
  • Sea salt and freshly ground black pepper to taste

Preparation

  1. Heat a large skillet over a medium-low heat and cook the onion in the ghee, butter or coconut oil until it begins to soften, about 3 minutes.
  2. Season to taste with sea salt and freshly ground black pepper, stir in the curry powder and continue cooking for a minute.
  3. Place mixture in a blender or a food processor, add the tomato paste as well as the chicken stock and coconut milk. Process or blend until smooth.
  4. Pour the mixture back in the skillet and bring to a simmer.
  5. Add the shrimps and spinach and cook, covered, for about 5 minutes, until the shrimps are just cooked.

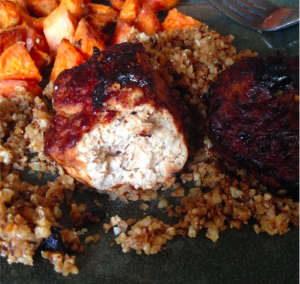
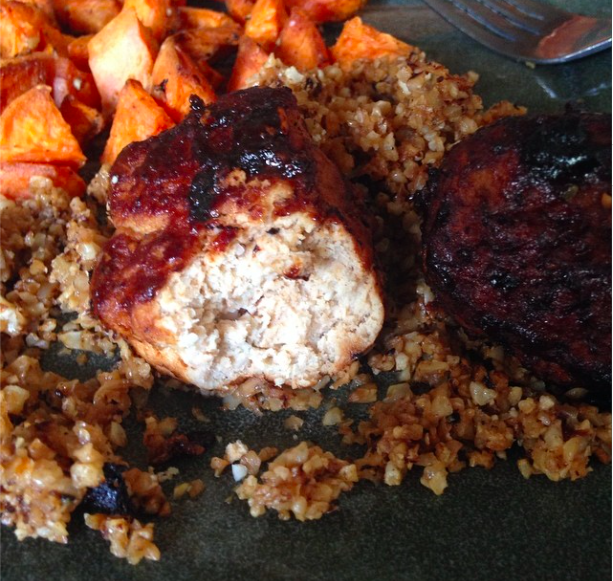
Paleo BBQ chicken meatballs

If you’re following the Paleo diet, you know how important prepping your meals ahead of time is. Otherwise you find yourself coming home from work,  starving, and grabbing whatever you can find to eat instead of taking the time to make a healthy meal. That basically means we spend our Sunday afternoons prepping meals for the week, especially ones that can reheat well and still be as good as they were when first made.

Like these guys.

I love meatballs. I can eat them on top of zucchini noodles, spaghetti squash or all by themselves. I like to make this BBQ version to change up the typical Italian meat sauce flavor and throw in a little Texas kick to our meals. You can use pork or beef as well, but chicken makes a great option and the flavors work so well together that we usually just stick with chicken. If you change it up at all, be sure to share so we can try your version too – Paleo love!

Paleo/Gluten-free Meatballs
1 lb Organic, ground chicken 
2-3 TBS flax meal (or coconut flour)
1 large free-range egg

Fresh garlic and basil make great additions, or you can season with Italian seasonings, salt, pepper, garlic powder and onion powder.  Season to your liking – I use around a dash to 1/2 tsp for each spice.

Instructions:

  • Preheat cast iron skillet to medium-high heat, and grease with coconut, avocado or MCT oil (best for high heat cooking)
  • Mix all ingredients together in a bowl.
  • Roll into golf ball size meatballs.
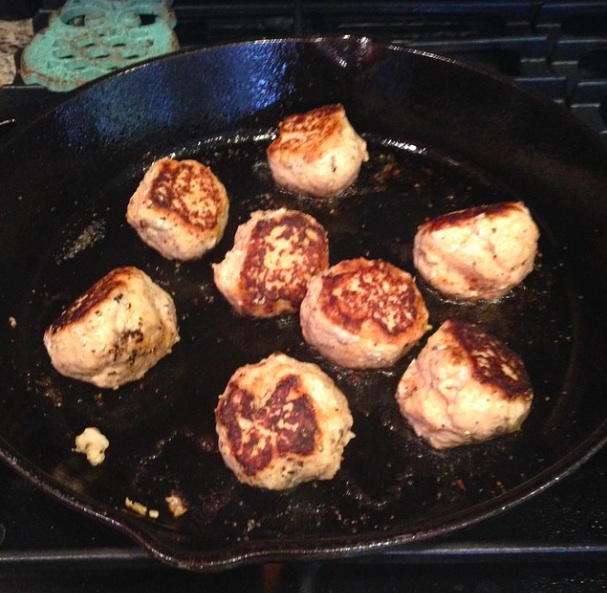
  • Drop meatballs carefully into the pan and allow to brown on each side for a few minutes.
  • Roll meatballs with wooden spoon so all sides are evenly cooked, or of approximately 15 minutes.
  • Reduce heat to low, and add BBQ sauce to the pan.
  • Simmer at low heat for an additional 10 minutes. Serve with extra sauce for dipping.
  • Enjoy!


Paleo BBQ chicken meatballs


Here’s one of our favorite recipes for BBQ sauce…

Paleo BBQ Sauce

1 Tbsp Coconut oil
3 cloves mince garlic
1/2 medium-large sweet onion, minced
1 Tsp organic spicy/dijon mustard
1 Tsp smoked paprika
1 Tsp chipotle seasoning (optional)
1 Tsp cumin
1 1/4 Cup chicken broth(can also use veggie broth or plain water)
Juice of 1.5 limes

1.5 TBS Braggs or Coconut Aminos
6 oz can of ‘no salt added’ tomato paste

Instructions:

  • Heat coconut oil in a pan.
  • Add garlic and onions and saute till translucent/soft.
  • Add mustard, paprika, chipotle, cumin and continue to cook.
  • Add remaining ingredients and whisk till smooth.
  • Bring to a light boil, reduce to simmer and partially cover with lid.
  • Simmer 45 minutes and let cool.

Paleo BBQ chicken meatballs

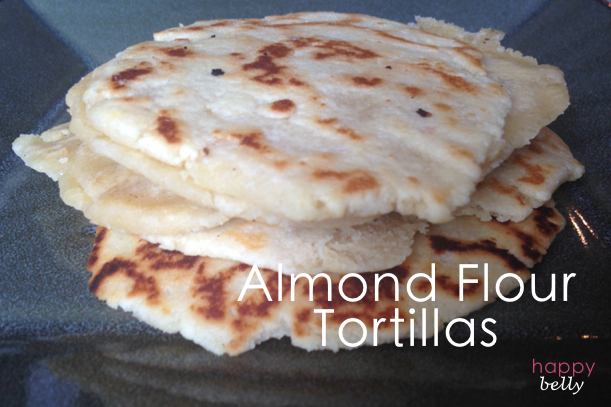
Almond Flour Tortillas

I love tortillas. I use them in place of bread, as a treat topped with almond butter and apples or bananas, or toasted with some ghee and garlic to make a pretty great garlic bread alternative.

Paleo living means you get a little creative now and then 🙂

And since I’ve tasted so many kinds, I can save you some time and tell you these are by far my absolute favorite. Our son loves them and we’ve been known to top them with nut butter and fruit and roll into a crepe, or toast them and use them as a base for a Paleo pizza. So many options folks – trust me on this one!


Almond Flour Tortillas


Almond Flour Tortillas (Gluten-free, Paleo)

Ingredients:

  • 2 cups almond flour
  • 2 eggs
  • 1 tsp olive or coconut oil
  • 1 tsp Guar Gum
  • 1/2 tsp salt

Note – you can also add a teaspoon of honey to help hold the dough together


Directions:

  1. Mix all ingredients in a large glass bowl.
  2. Place a strip of all natural wax paper on your counter.
  3. Divide dough and roll it into a ball with your hands (ball should fit into the center of your palm).
  4. Place the piece of dough in the center of the wax paper and place another strip of wax paper over the dough ball.
  5. Use a rolling pin to roll out the dough until it is as thin as you can get it without it falling apart.
  6. Oil a cast iron skillet with coconut oil and heat skillet to Medium heat (be sure to give the pan plenty of time to heat before adding your first tortilla – can take up to 10 minutes depending on your stove and skillet)
  7. Place tortilla onto pan and let it cook for 1-2 minutes, or until golden brown (the edges will brown and the middle will start to bubble).
  8. Flip and cook on the other side for another minute or less.
  9. Add more coconut oil as the skillet becomes dry and lower the temperature to medium-low to prevent burning if needed.
  10. Stack tortillas on a plate, allowing to cool


Tortillas will store in the freezer once cooled or can be kept them in the fridge in a glass container for a few days. To reheat, simply warm a cast iron skillet on low to medium heat and place on skillet for 30 seconds per side.

Note: (makes 8 small tortillas)


Enjoy 🙂

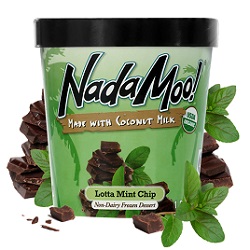
nadamoo_mint_coconut_milk_ice_cream

Austin’s very own NadaMoo! is in the race for VegNews Magazine’s Veggie Awards in the Favorite Vegan Ice Cream Category, and since we’re big fans of theirs, I wanted to share the news.

If you haven’t tried Nadamoo! you need to, and if you have you know they’re creamy, not overly sweet and rooted in goodness. They start with luscious, creamy coconut milk, known for its healthy fats and natural sweetness, add agave nectar and tapioca syrup, naturally low on the glycemic index and finally add the last bit of magic, blending in the flavors and ingredients that make NadaMoo! one of a kind.


nadamoo_mint_coconut_milk_ice_cream

This one’s our favorite!

Lotta Mint Chip

Classically craveable. Cool, refreshing organic mint is the perfect complement to packed-to-the-brim chocolate chips.

Ingredients: organic coconut milk, fair trade certified organic agave syrup, organic tapioca syrup solids, organic inulin, fair trade certified organic chocolate chips (organic cane sugar, organic cocoa liquor, organic cocoa butter, organic vanilla) organic mint extract, organic guar gum, organic spirulina powder (for color) sea salt, organic locust bean gum. CONTAINS TREE NUTS (COCONUT).


They would love your support in voting, as well as helping spread the news. NadaMoo! is the only locally-owned brand in the running, and we love to support our local companies whenever possible.

You can link to the survey and vote here – note that NadaMoo!’s under category 9 on the first page and you can get social with them too.

Twitter: twitter.com/NadaMoo

Instagram: Instagram.com/NadaMoo

Facebook: https://www.facebook.com/NadaMooCoconutMilkIceCream


Paleo Chocolate Chili

In an experiment to get my husband to try the Paleo lifestyle, I picked up copy of Well Fed and left it on the counter. It sat there for a while, untouched.

So I decided to make a grocery list using recipes from it, and then asked him for help with one of the meals for dinner that night. Surprisingly, that worked, because before I knew it he was flipping through the book, landed on a recipe he liked, and was in the kitchen prepping it in no time.

He’s really the cook in the house, though I tend to drive the choices we make. I would cook. I do cook. But he’s definitely better at it.

I can say that we’ve made our way through about 4 or 5 recipes in there so far, and every one of them has been amazing. I’ll share some pictures of our meals soon, but in the meantime if you’re looking for healthy (or Paleo) recipe options, you can’t go wrong with Well Fed. The author, Melissa, clearly lays out what to prep in advance, what her Paleo kitchen looks like, and how she makes living Paleo as easy as possible. Even if you’re not Paleo, the recipes in here are so delicious that you probably won’t miss the grains, gluten or dairy. Trust me.

Click the image below and head over to Amazon to pick up a copy on Prime. I hope you’re a Prime member. If not you should be – it’s probably the greatest value from any online company I can think of.  Oh, and start with the Pad Thai. You’re welcome.

   Paleo Chocolate Chili

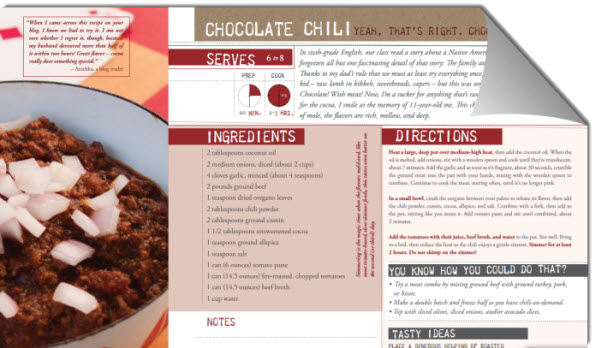
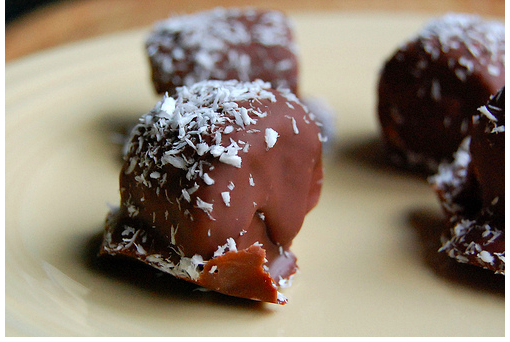
I LOVE chocolate. The taste, the health benefits and the way it feels when a rich, delicious piece melts in my mouth and makes the sides of my throat tingle with its deliciousness – so many reasons to love it. But since I follow a paleo diet, I try to avoid sugar, so I had to find a way to enjoy a chocolatey flavor that was sugar-free, and mostly paleo. Then I discovered these guys – they’re frozen, chocolate banana bites that are packed with coconut oil goodness, raw cocao and bananas, so if you’re trying to make sure you eat enough coconut oil,  this is a great way to help.  Because coconut oil melts at room temperature, keep these in the freezer and take out one or two when the urge hits, let it defrost for a few minutes and enjoy. 


Frozen coconut oil chocolate banana bites (GF, Vegan, Paleo)

Frozen coconut oil chocolate banana bites  (GF, Vegan, Paleo)

Ingredients

  • 2 ripe bananas
  • 1 Cup Coconut Oil
  • 2 TBSP Raw Cocoa
  • 1 TBSP Cashew or almond butter
  • 1 dropper full of liquid stevia
  • Shredded coconut (optional)

Instructions

  1. Preheat pan on low to medium heat
  2. Add coconut oil and stir until melted (30 seconds or so)
  3. Add nut butter and continue stirring until melted and blended (about 1 minute)
  4. Add cocao and stir until blended
  5. Add stevia
  6. Remove from heat
  7. Slice bananas into 1 inch thick slices
  8. Dip banana into pan and fully coat with chocolate sauce
  9. Remove slices and place in a pan for freezing (I use a mini cupcake tin)
  10. Sprinkle with shredded coconut (optional)
  11. Freeze for 2 hours
  12. Remove from tin and place in frozen ziplock bag for storage.
  13. Enjoy!
http://inspiredeats.net/frozen-choco-banana-bites-gf-vegan-paleo/

I never thought I’d have a food blog – I wasn’t very impressive in the kitchen and everyone who knows me knows I much prefer to have someone else create something amazing than to try to tackle it myself. But then came 2010 and my body shut down, my brain quit working and getting out of bed became a bigger task that I could have ever imagined, and along this auto-immune journey, I’ve had to change my old ways of thinking.

I had to start preparing my own meals so I could be sure to avoid allergic foods, and control the quality of what I was eating.  I gave up most of my favorites, and hated life for a while. We discovered the gluten-free, Paleo way of life. We switched from plastic to glass, from non stick to cast iron, and I was now taking more supplements in a day than I used to take in a month. I needed to find a way to love my new (food) life.

Then one day my palette changed, and I learned to love feeling healthy and looking better.  I’m more patient now, so taking the time to prepare meals doesn’t drive me nuts like it used to. And I’m actually kind of enjoying the feeling of creating something from scratch that my guys like too.  Neither one of them is very good at sugar-coating their thoughts on my dishes, so when I do get something right I love their feedback.

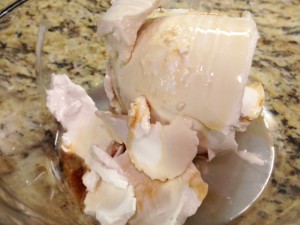
So here’s my attempt at recreating an old favorite – cool whip. It took  a few times, and I got the best version when I let the can sit opened in the fridge for 3 nights.  I made it on the 4th day, and since I used the same brand and method as I have in the past, I’m confident that was the key step. Oh, and as for the type of coconut milk, grab full fat, organic milk with only milk, water and a stabilizer like guar gum.

Whipped coconut milk lets me make a kick ass dessert that would rival my old fave – Cool Whip. Man, I love it when I get them right!

whipped coconut cream

Step 1: Add maple syrup and vanilla to coconut milk

whipped coconut cream

Step 2: whip the cream until fluffy (about 30 seconds)


(more…)