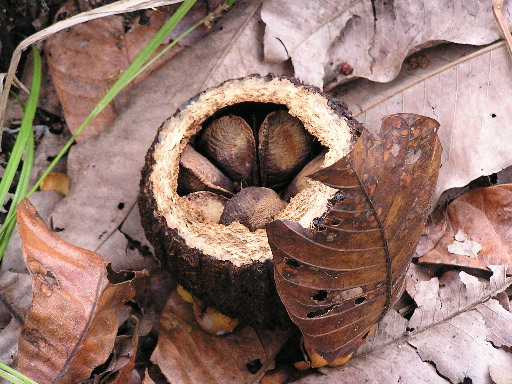
Here’s a great tutorial on how to make a nut milk, in particular, Brazil nut milk.

I’ve been wanting to try making my own nut milks, but for some reason I had thought there would be a lot to it. So I was happy to see, once I started researching it, that’s not the case at all. There are plenty of helpful videos on making nut milks, but I particularly liked how simple and straightforward Max was on this video below.

So after finding his video on Youtube, I headed over to his site to check him out, and sure enough, it turns out we have a lot in common. He hates GMOs. He loves healthy living. He believes in the power of food to help us heal. He sounds like somebody I would enjoy  being around.

So given all that, I decided to share his video with you. I hope it inpsires you to go out and try your own nut milk as it has me.

And remember – Live Inspired!

Jen


About Max

Follow Max Goldberg on Twitter.

I’m just a regular person who decided to take his physical and mental health into his own hands. Along the way, I developed a real passion for organic food as a means to improve my well-being. Here’s his post where the Youtube video I found was featured.
Guess what I’m doing today?!

We finally have a bit of rain in Austin, and a nice break from the heat, so our fall garden is starting to flourish. And while checking it out last night, I noticed our stevia plant is starting to flower again, so I decided it’s time to take my first stab at making homemade liquid stevia.

If you haven’t yet discovered liquid stevia, I highly recommend it!  I love the ease of the liquid form in lightly sweetening iced tea, coffee, smoothies and more. Basically anything liquid that normally a powdered sweetener would have trouble dissolving in, liquid stevia is perfect for.

And since this is my first go-around making liquid stevia, I’ve pulled a recipe together from a trusted homemade remedy book, and am sharing a video from Youtube that I found which gives excellent step by step instructions.

According to Stevia.com, stevia plants should be harvested before the first frost or as soon as blossoming begins, whichever comes first. Cut entire plants just above ground level. When growing Stevia as a perennial or for early harvests, clip the plants 6 inches from the ground so they will survive and re-grow (Shock, 1982). Harvest in the morning, after dew has evaporated.

How To Make Liquid Stevia Extract

The Parts:

  • dried stevia leaves, chopped finely
  • vodka
  • glass jar with a lid

The How-To
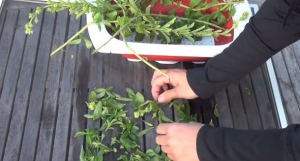
If you harvest your stevia at home, start by washing your trimmings to remove any dirt. Remove the leaves from the stem, as the leaves are what contains the sweet-tasting glycosides. Let them dry in the sun or a dehydrator until crisp. Then, using a knife, chop your dried stevia leaves finely. Avoid powdering your leaves as the powder is hard to filter and creates a residue that settles at the bottom of your finished extract.

Place your crushed stevia leaves in a glass jar, then pour vodka over them to coat. I’m using vodka instead of water to extract the glycosides because I find I get a much sweeter result this way. Quick tip: opt for vodka over other liquors because it’s flavorless and cheap.

Next, put the lid on your jar, shake it up, and let it sit on your counter for 24-36 hours. Don’t let it sit for longer than 36 hours, or it will turn bitter. Store your liquid stevia in a colored glass tincture jar for up to 4 weeks.

(more…)